Custom skins allow organizations to change/customize the appearance of the online registration process by adjusting the header image, background image, and background color. Below are instructions to access and edit custom skins for an organization after logging into Swim Manager.
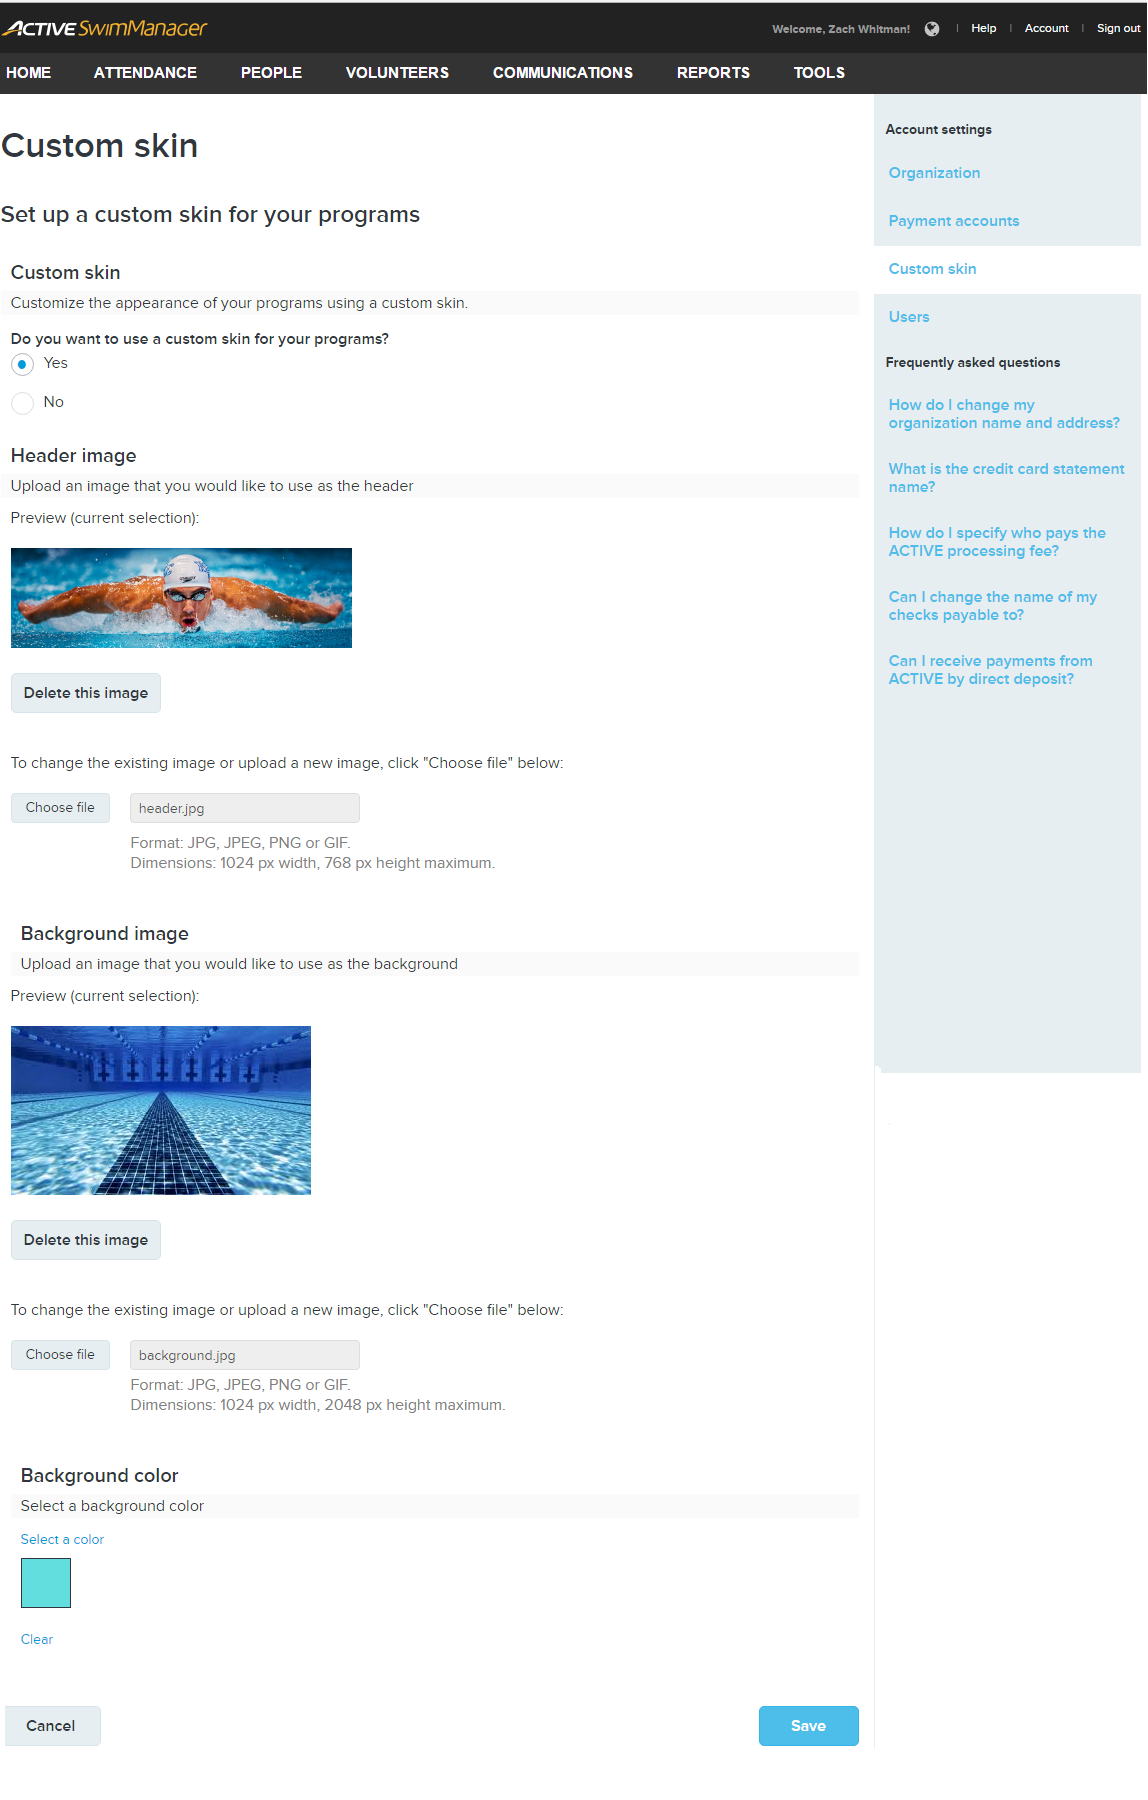
1. Click Account
2. Click Custom skin under Account Settings
3. Click Yes under Do you want to use a custom skin for your programs?
1. Click Account
2. Click Custom skin under Account Settings
3. Click Yes under Do you want to use a custom skin for your programs?
Note: Clicking Yes displays three sections, namely, Header Image, Background Image and Background Color
4. Under Header image, click Choose file to change existing image or upload a new image
5. Under Background image, click Choose file to change existing image or upload a new image
5. Under Background image, click Choose file to change existing image or upload a new image
Note: Format: JPG, JPEG, PNG or GIF; Dimensions: 1024 px width, 768 px height maximum
Note: Click Delete this image if you want to remove existing header/background image
Note: Click Delete this image if you want to remove existing header/background image
6. Under Background color, click Select a color to open Color Picker
a. Use the color picker box and slider to select a new color
i. Another option is to use the various fields to manually input a specific color (hex, red, green, blue, hue, saturation, and value)
b. Click Apply
8. Click Save
- Note: It will take up to 15 minutes for changes of custom skin to appear on the registration page.

