After creating General Ledger (GL) codes, refer on the steps below on how to assign GL codes to the following products:
1. Products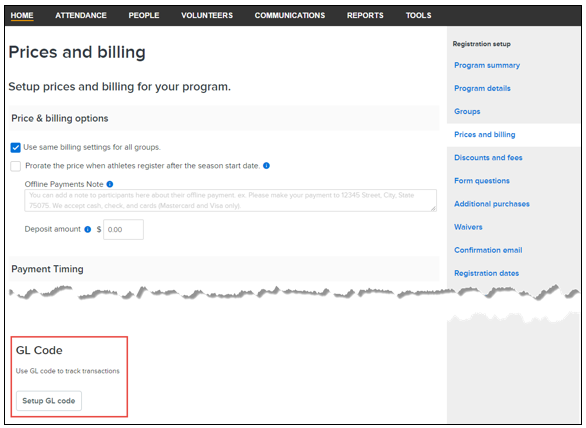

4. Late registration fees
Note: Double-click the corresponding Enter GL code field for the drop-down list of existing GL codes to appear

1. Products
a. From the Homepage, click the Action drop-down and select Manage Program or simply click on the Program
b. Select location (if multi location program)
c. Under Registration setup menu, go to Prices and billing
d. Scroll down to GL code section, click on Setup GL code
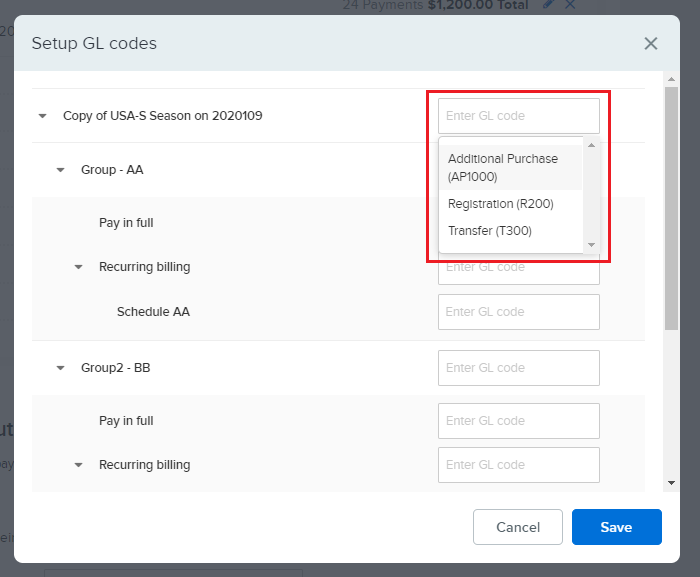
e. Single click on Enter GL Code field to show drop-down of existing codes
e. Single click on Enter GL Code field to show drop-down of existing codes
e. On the Setup GL codes popup, GL codes are available to:
- Programs
- Deposit
- Groups
- Pay in full (if used)
- Billing schedules (if used)
Note: Copying a program with products assigned with GL codes also copies the GL codes to the new program
Note: Enter GL code field for Deposit is only displayed if the deposit has been configured with a price
2. Additional Purchases
a. From the Homepage, click the Action drop-down and select Manage Program or simply click on the Program
b. Select location (if multi location program)
c. Under Registration setup menu, go to Additional Purchases
d. Click Edit additional purchases button
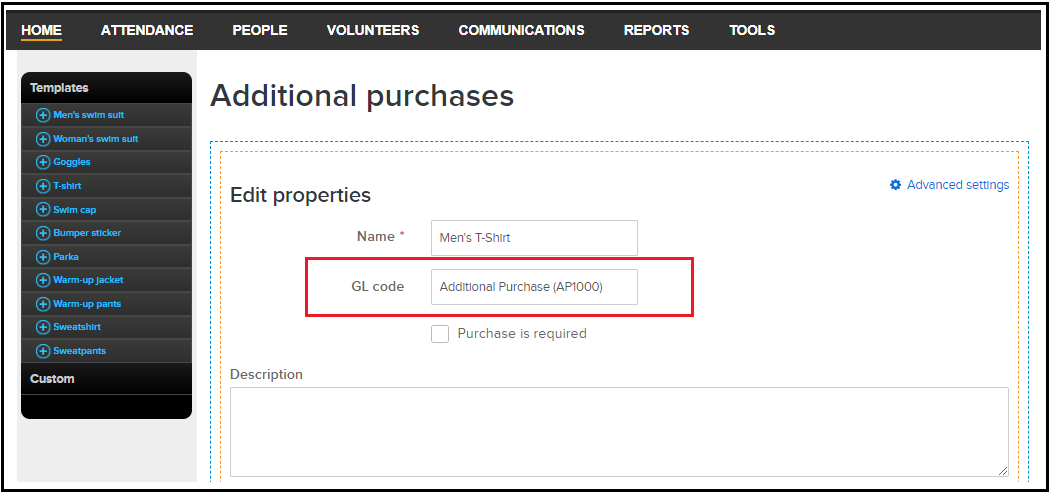
e. Click the pencil icon on the upper-right corner of required add-on item to edit properties
f. Single click on Enter GL Code field to show drop-down of existing codes
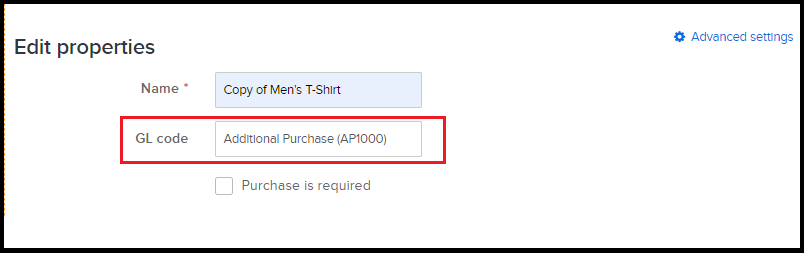
Note: Copying an add-on assigned with a GL code also copies the GL code to the new add-on
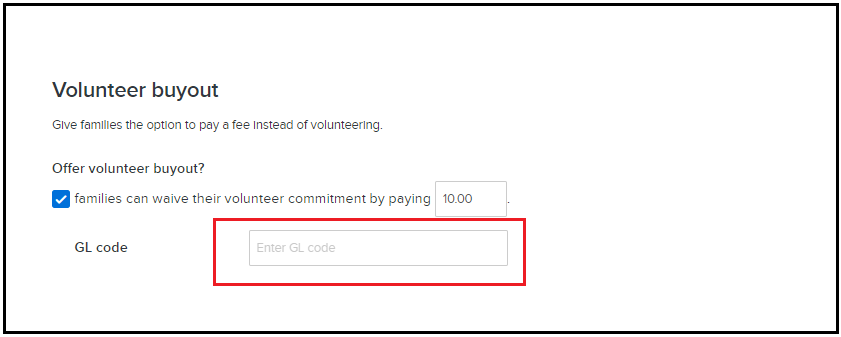
3. Volunteer buyout
a. From the Homepage, click the Action drop-down and select Manage Program or simply click on the Program
b. Select location (if multi location program)
c. Under Registration setup menu, go to Prices and billing
d. Scroll down to Volunteer buyout section
e. Check Offer volunteer buyout?
f. Single click on Enter GL Code field to show drop-down of existing codes
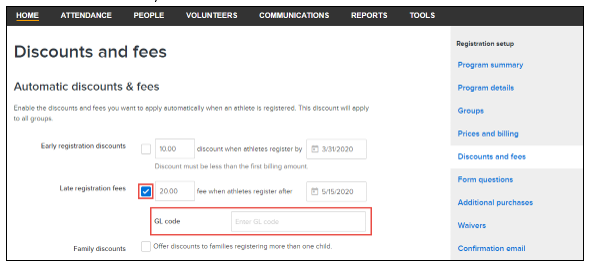
4. Late registration fees
a. From the Homepage, click the Action drop-down and select Manage Program or simply click on the Program
b. Select location (if multi location program)
c. Under Registration setup menu, go to Discounts and fees
d. Check Late registration fees
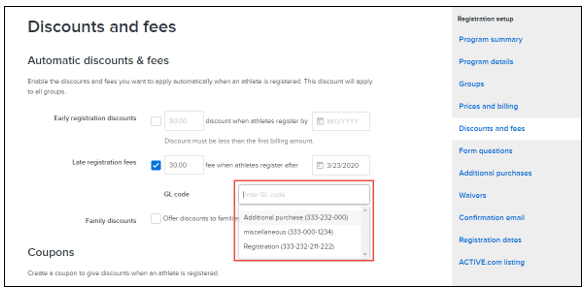
e. Single click on Enter GL Code field to show drop-down of existing codes
Note: Double-click the corresponding Enter GL code field for the drop-down list of existing GL codes to appear
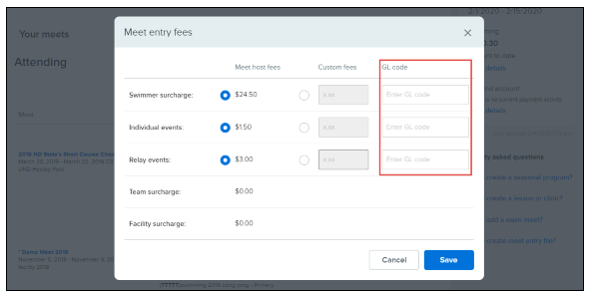
5. Meet Entry Fees
a. Click Action button beside meet
b. Select Meet entry fees
c. Single click on Enter GL Code field to assign code
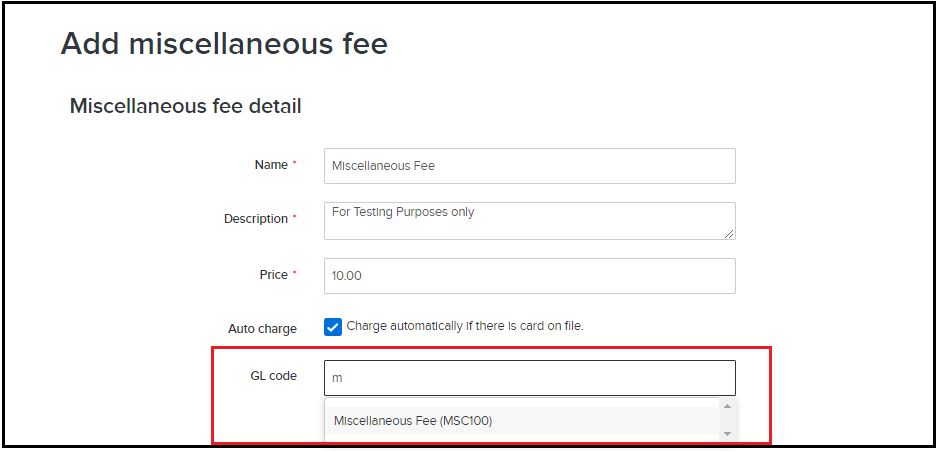
6. Miscellaneous Fees
a. From anywhere in database, click People Tab
b. Click Add miscellaneous fee button
c. Single click on Enter GL Code field to show drop-down of existing codes
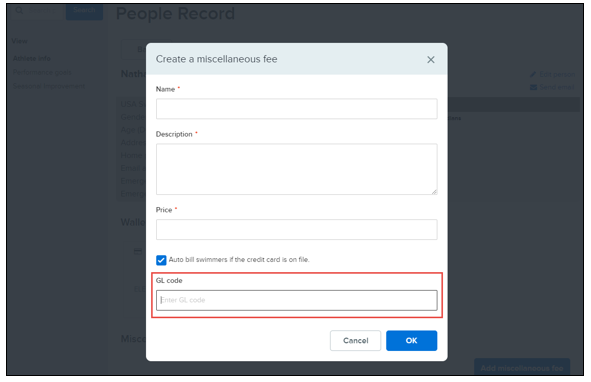
7. Miscellaneous Fee for a single person
a. From anywhere in database, click People Tab
b. Select a parent
c. Click Add miscellaneous fee button
d. Single click on Enter GL Code field to show drop-down of existing codes

