Below are instructions on how to create a Custom Financial Report after logging into Swim Manager.
1. From the Organization Dashboard (Home tab), click on Reports
2. Click on Create button under Custom Report
3. Select filters as needed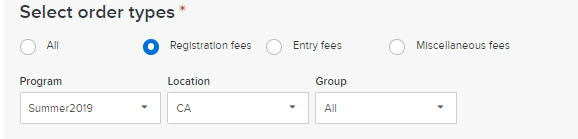
c. (Optional) Edit column names in the Selected list

b. Use filters as needed
c. Select parameters on the drop-downs
1. From the Organization Dashboard (Home tab), click on Reports
2. Click on Create button under Custom Report
3. Select filters as needed
a. Transaction Date
- All
- Custom
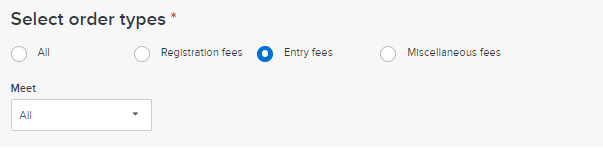
b. Order Types
- All
- Registration Fees
Note: If the Order Type is setup to Registration Fees and a particular Program is selected, then the Transaction Report can be filtered by Location (or All locations).
Location and Group drop-down will then appear after a Program is selected
- Entry Fees
- Miscellaneous Fees
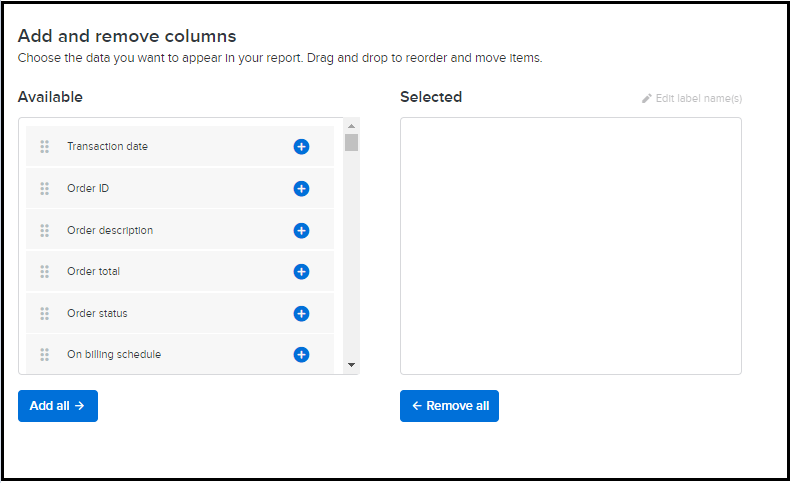
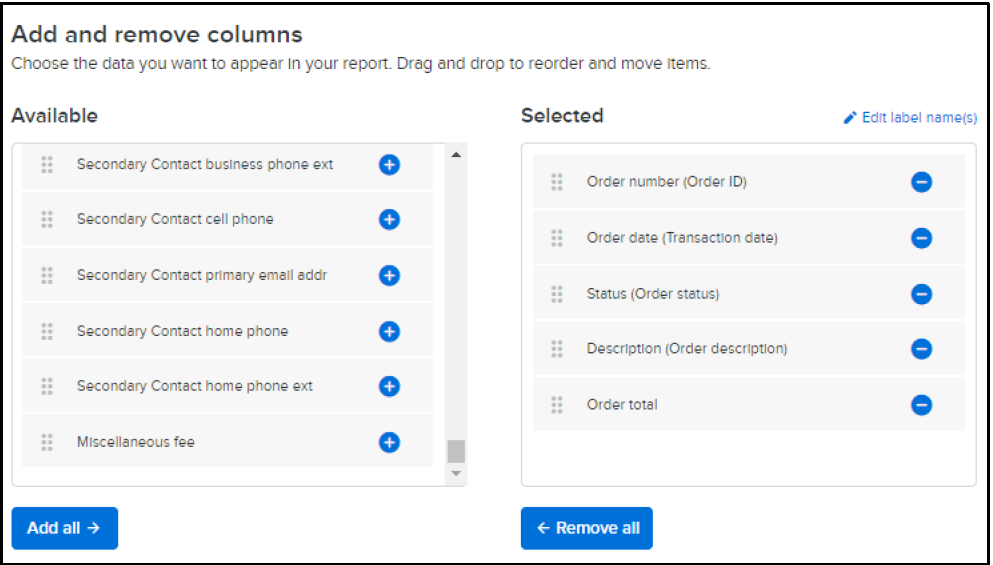
a. Adding column labels can be done by clicking the plus sign beside each or click 'Add all' at the bottom of Available list.
b. Removing column labels can be done by clicking the minus sign beside each or click 'Remove all' at the bottom of Selected list.
b. Removing column labels can be done by clicking the minus sign beside each or click 'Remove all' at the bottom of Selected list.
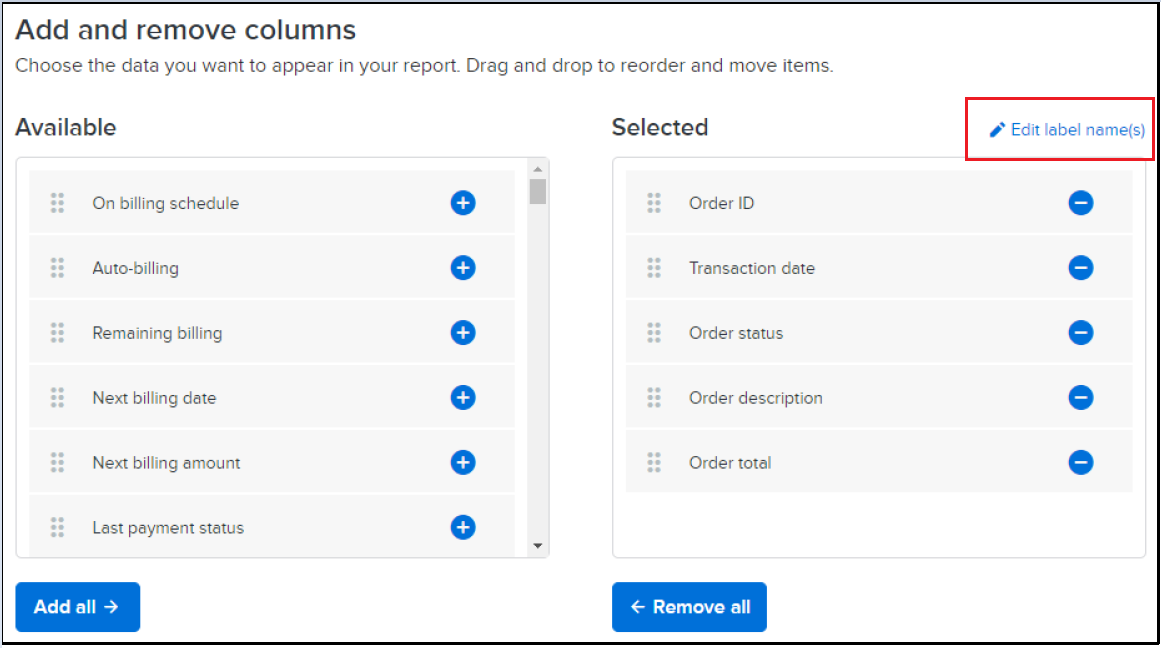
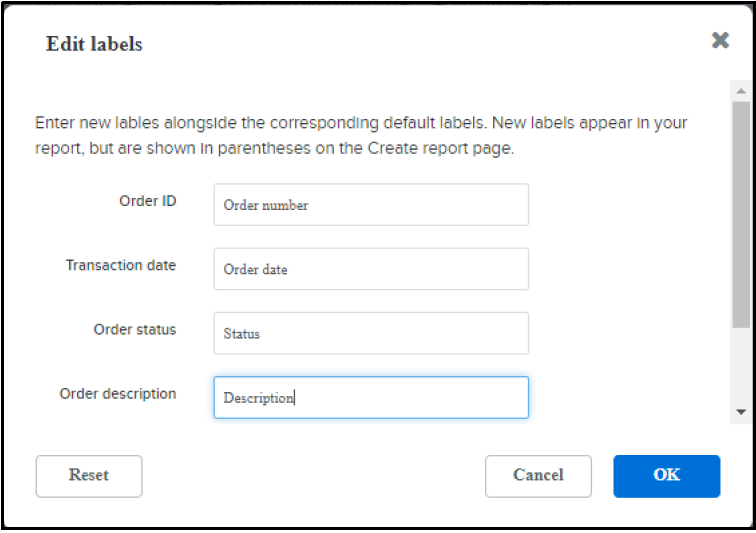
c. (Optional) Edit column names in the Selected list
c.1. Click Edit label name(s) link
c.2. Enter the required substitute column names.
Note: To restore all column names to their defaults, click the Reset button.
c.3. Click OK
Note: Edited column names should display new name (original name)
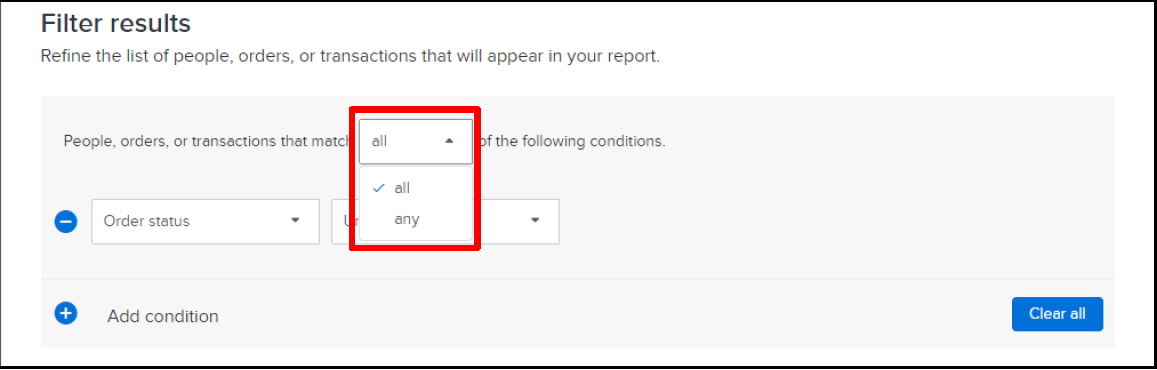
5. Click Filter Results to add conditions
a. Click + Add condition
b. Use filters as needed
- all
- any
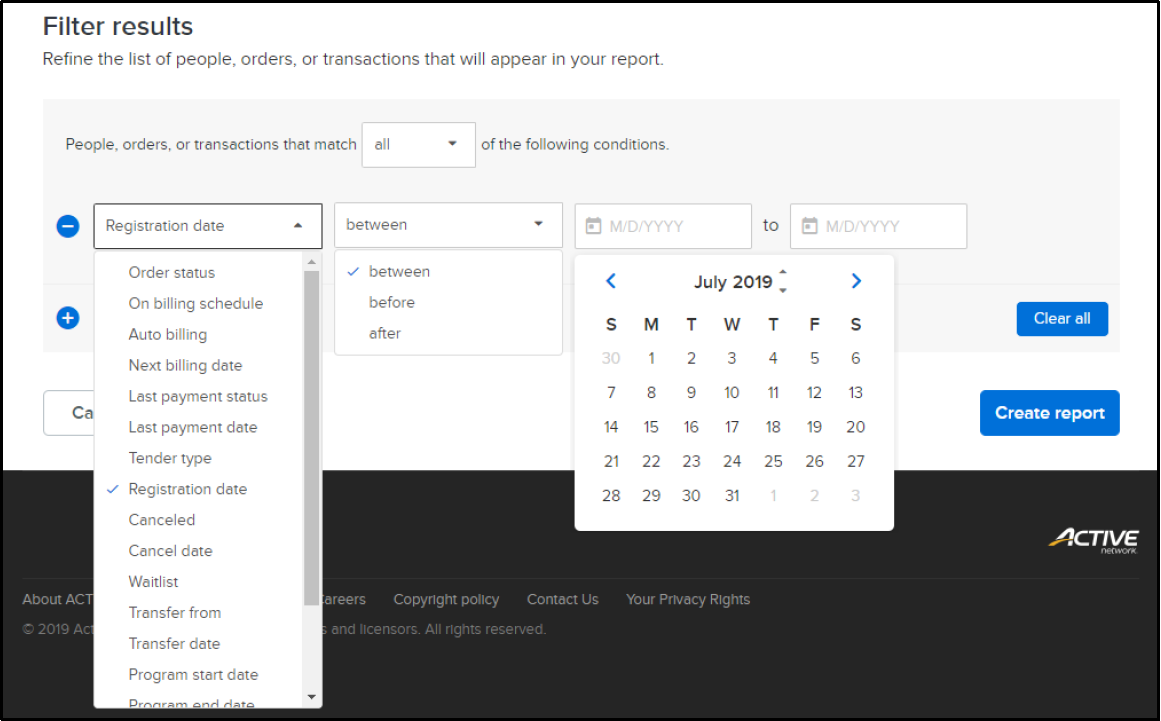
c. Select parameters on the drop-downs
Note: Can add up to a total of five filter conditions.
To remove a filter condition, click the – icon next to the unwanted condition.
To remove all filter conditions and apply no filters to the report, click the Clear all button.
6. Click Create Report
Note: Report will be generated in CSV format (the default file name is TransactionDate.csv)

